The Hardest Way to Make a GIF
Everyone loves a good GIF, and my favourite (of all time) is this one (circa 2015):

Let’s make a GIF in the hardest way possible.
Why? It’s pointless, but some pointless things are just fun to do.
Step 1: Acquire photons
For this step I’ll be using the Lomo ActionSampler, a plastic camera made in China by a series of anonymous unknown factories. It’s been branded as many different things over the years, including as the Revolver Selby in 1991, so it’s a design that’s at least 35 years old.
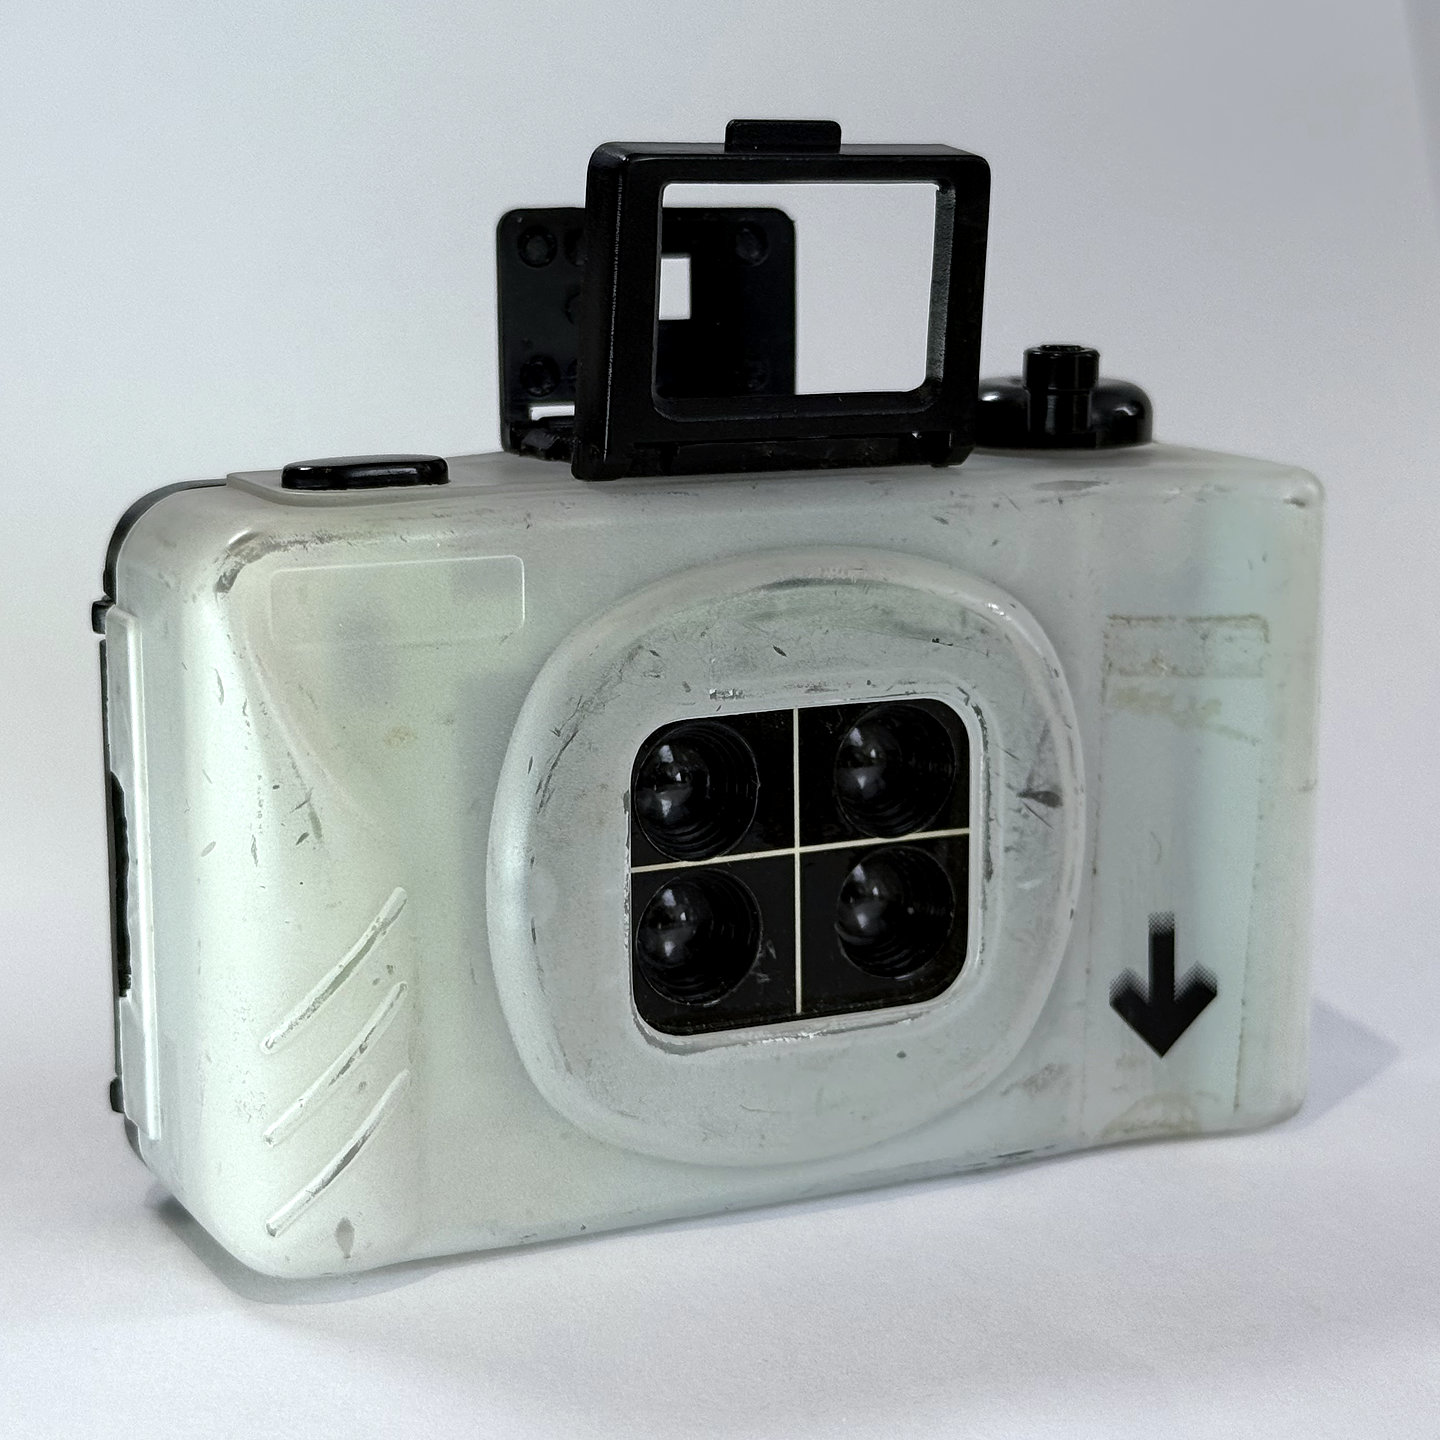
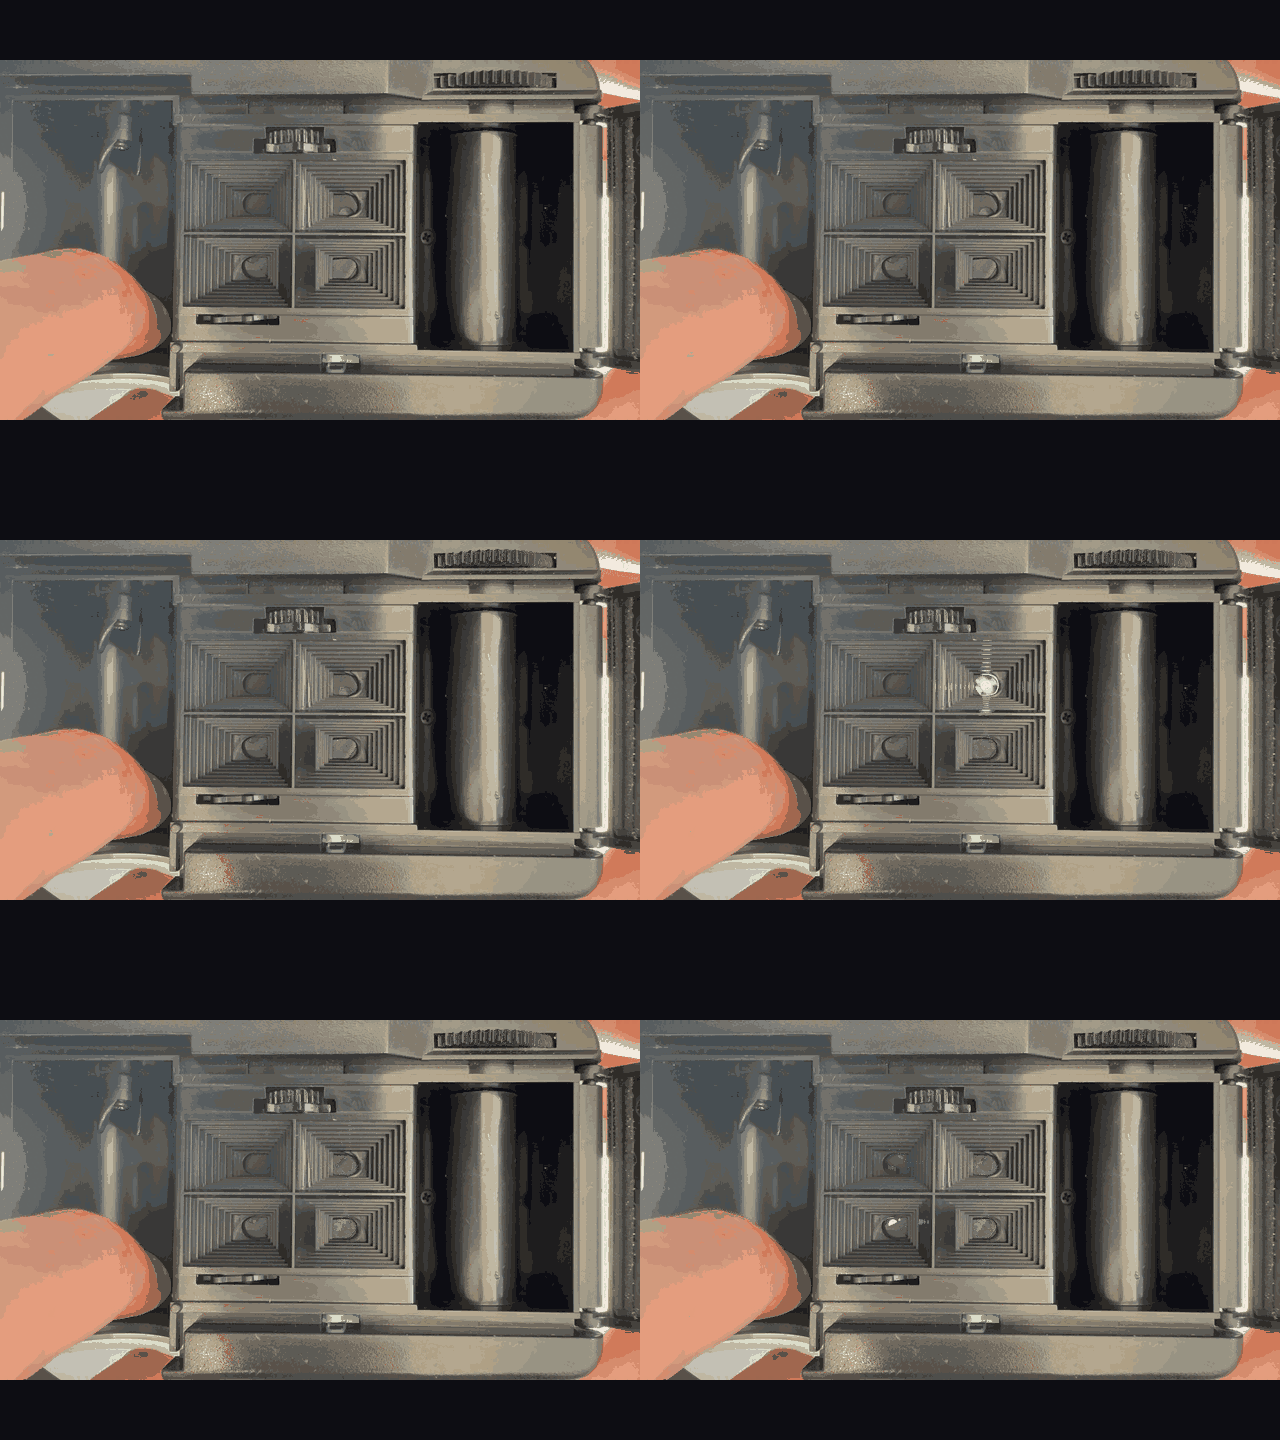
The camera uses a unique clockwork spring-powered mechanism to rotate a circular shutter over 4 different lenses, at a speed of around 1/250s per frame. This means, if you’re lucky, you can capture 1 second of action at a glorious 4 frames per second.
Because you never really know how the photos will turn out, I’ll shoot a 36 exposure roll of Lucky SHD 400 film, and we’ll see what we get. Now that our photos are captured on China’s finest cheapest black and white film, we need to make them visible.
Step 2: Develop film
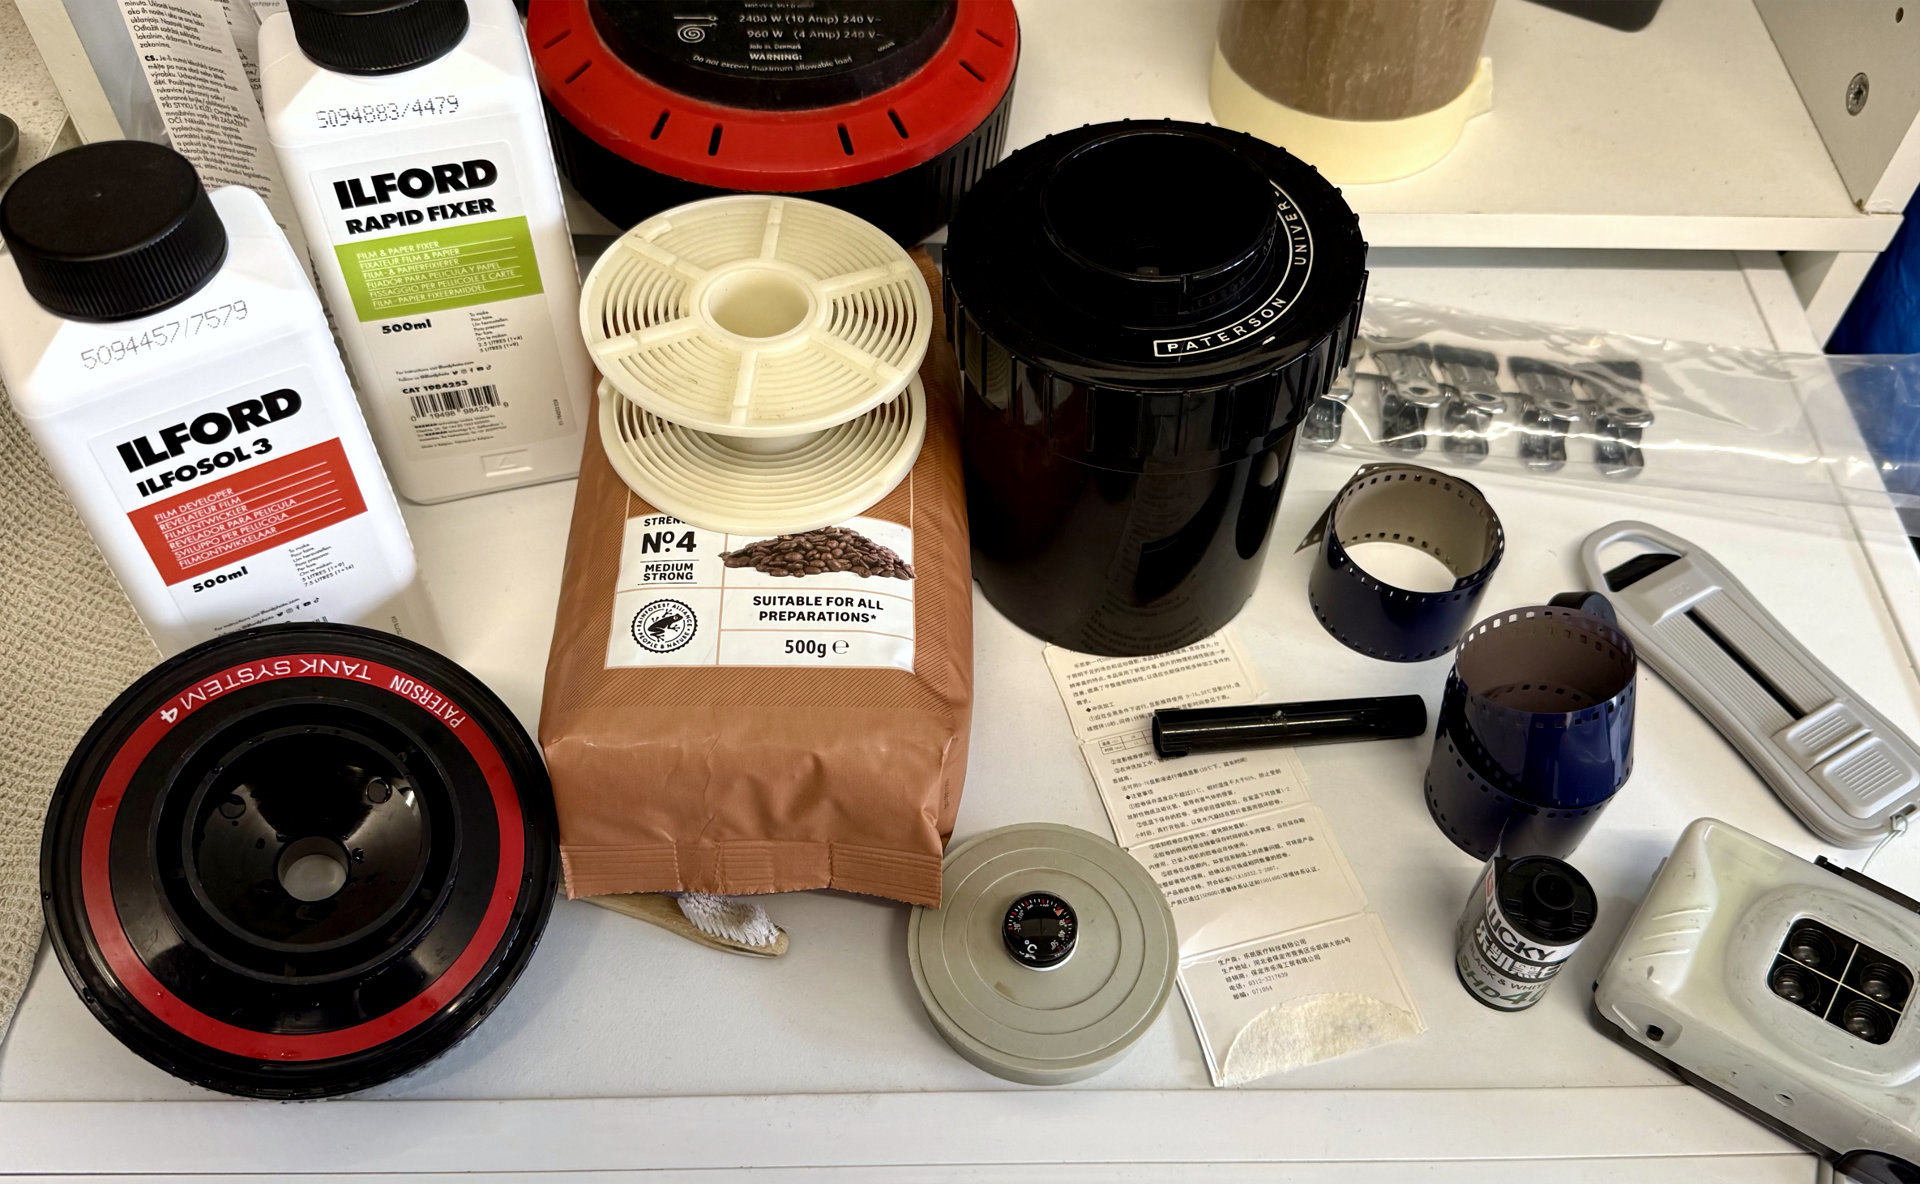
I could send the film off to a lab for developing and scanning, but this is the hardest way to make a GIF. I develop film at home so luckily I have all the requisite parts:
- Developer tank and reel
- Ilford Ilfosol 3 developer
- Ilford Rapidfix fixer
- A dark bag
- Jugs, thermometer and other assorted accessories
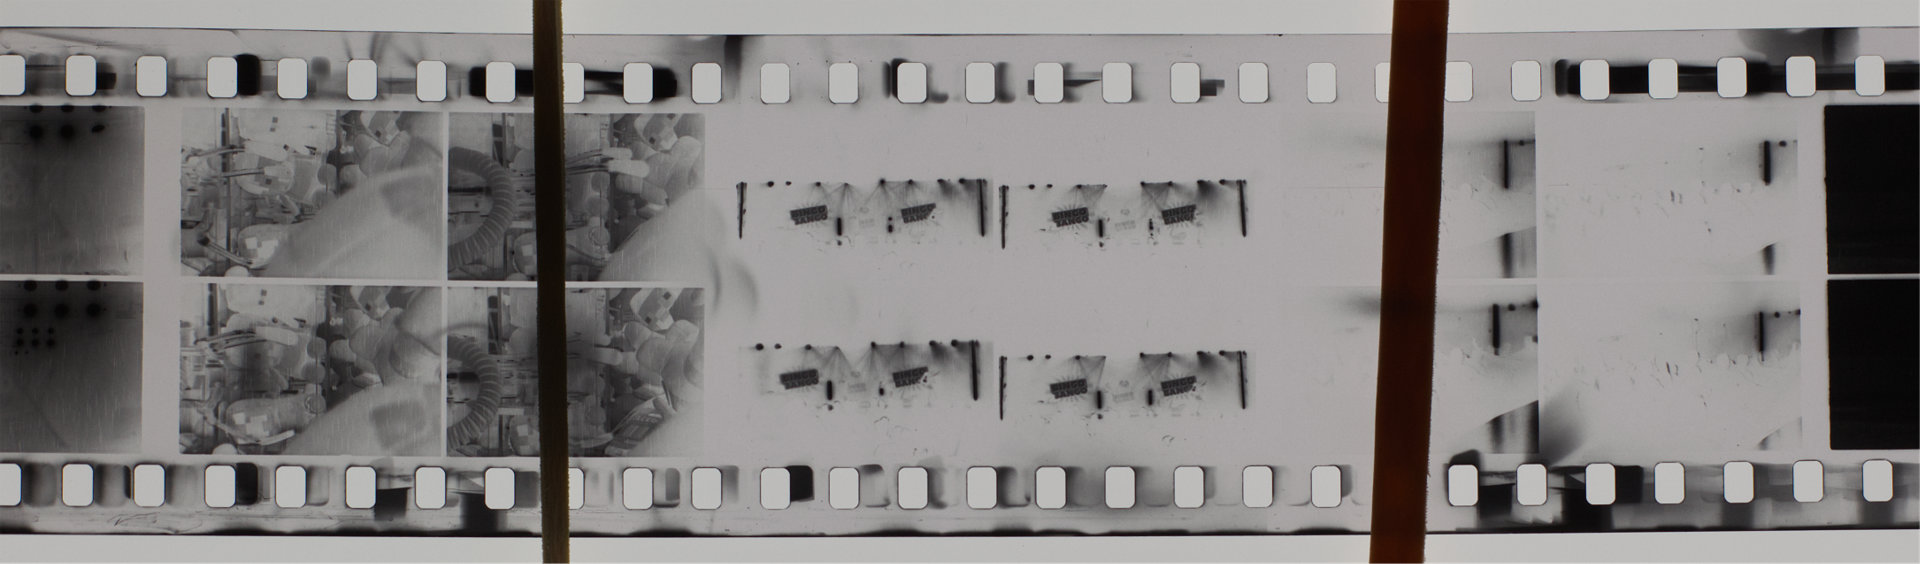
By a combination of luck and limited skill, it worked! We have developed film, each frame containing 4 images captured at 4 frames per second.
Step 3: Scan images
I don’t have a fancy film scanner, so for this I’ll be mounting each frame on an LED light panel then taking a photo with a digital camera on a tripod, with lots of light and a small aperture to try to get the best detail possible. I’ll shoot the frames in RAW which will give me some flexibility in the software later to expose them more correctly. This is similar to the digital intermediary phase in “real” filmmaking.
I loaded the RAW files into Affinity and eyeballed the exposure to hopefully get useful images back. They’re inverted of course, so a quick cmd+i inverts them the right way round.
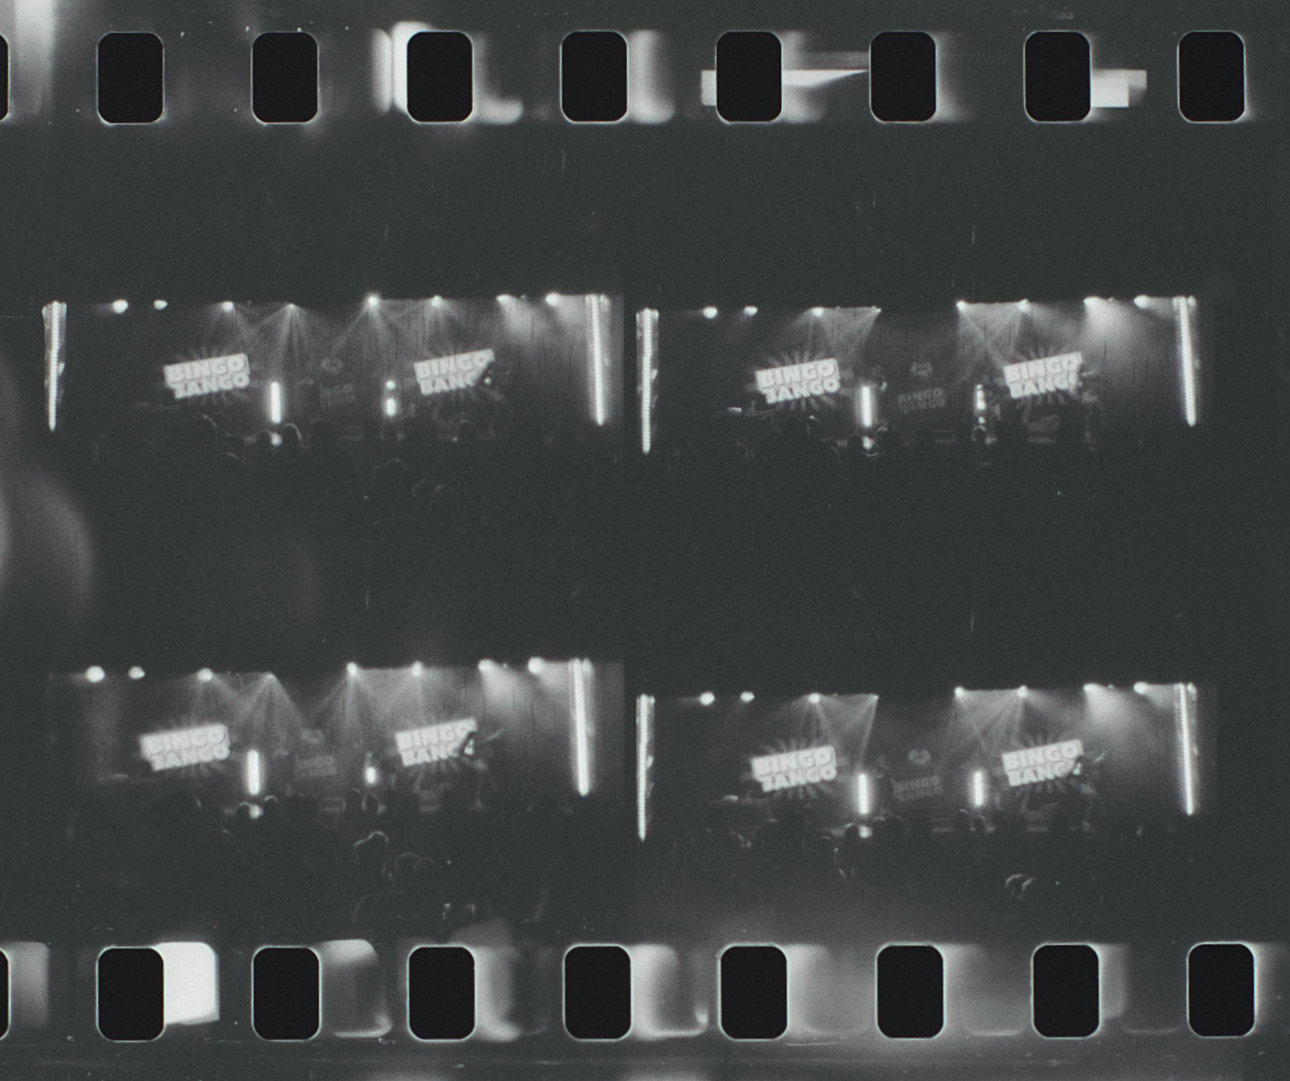
Step 4: Crop frames
The alignment of each 4 frames within the 35mm frame is not exact (this is a plastic camera from the 1990s after all). In fact frames 1 and 2 are a different width to frames 3 and 4, so I’ll need to crop each frame, then align them as layers manually in Affinity. Making the frames 50% transparency helps as a rudimentary form of onion skinning.
Now we export the frames as PNGs, and number them by frame order.
Step 5: Align frames and Gif-ify
Using imagemagick on the command line I was able to combine the images into a GIF. I went for a “ping pong” animation style, just to make the GIF last a little longer and give a better sense of the motion.
magick -delay 25 -loop 0 1.png 2.png 3.png 4.png 3.png 2.png animated.gif
Delay 25 means 25/100ths of a second, or 4fps - making it more lifelike to the real world it was captured from.
Naturally with 4fps this isn’t exactly like watching a Pixar movie, so I created some tweens by blending frames at 50% opacity each using:
magick 1.png 2.png -define compose:args=50,50 -compose blend -composite 1-2-tween.png
With these tween frames as part of the animation it appears much smoother.
And there you have it! A looping animated GIF, acquired from the real world on 35mm film. Next project: do it with IMAX. ;)
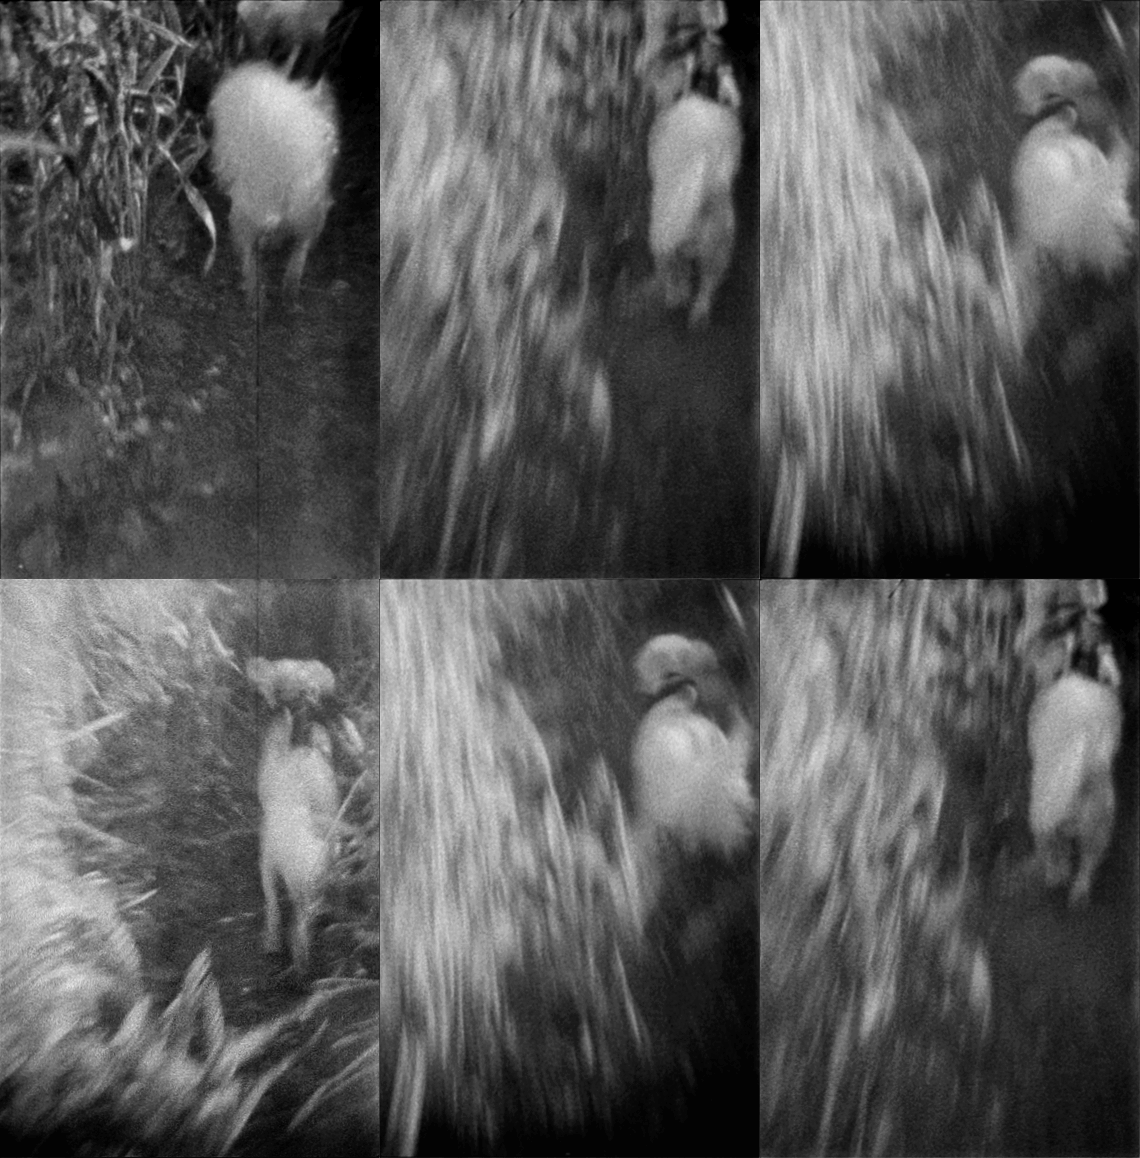
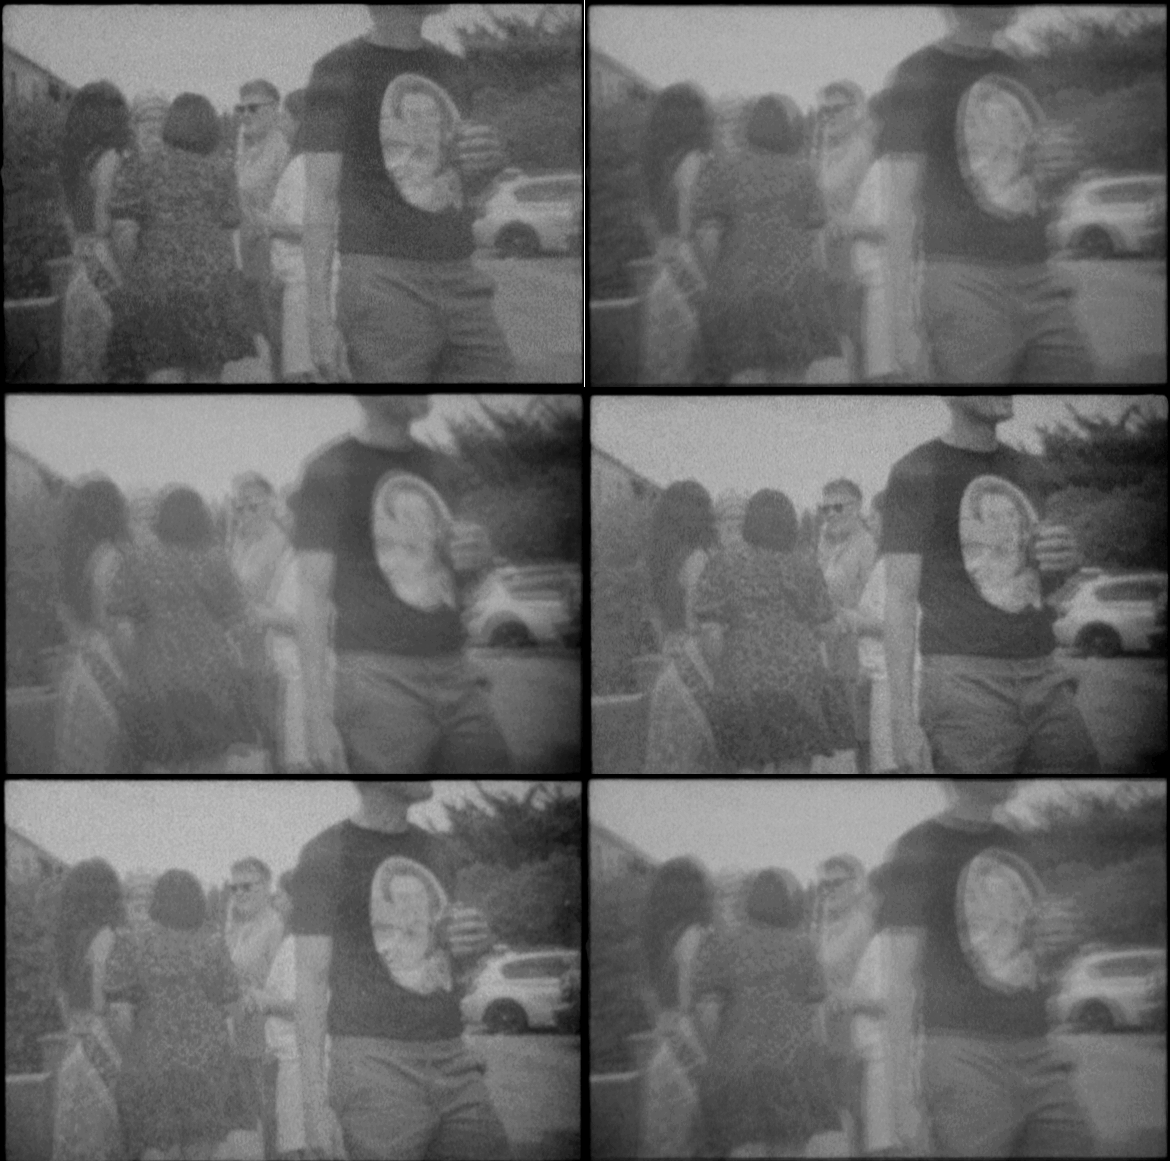
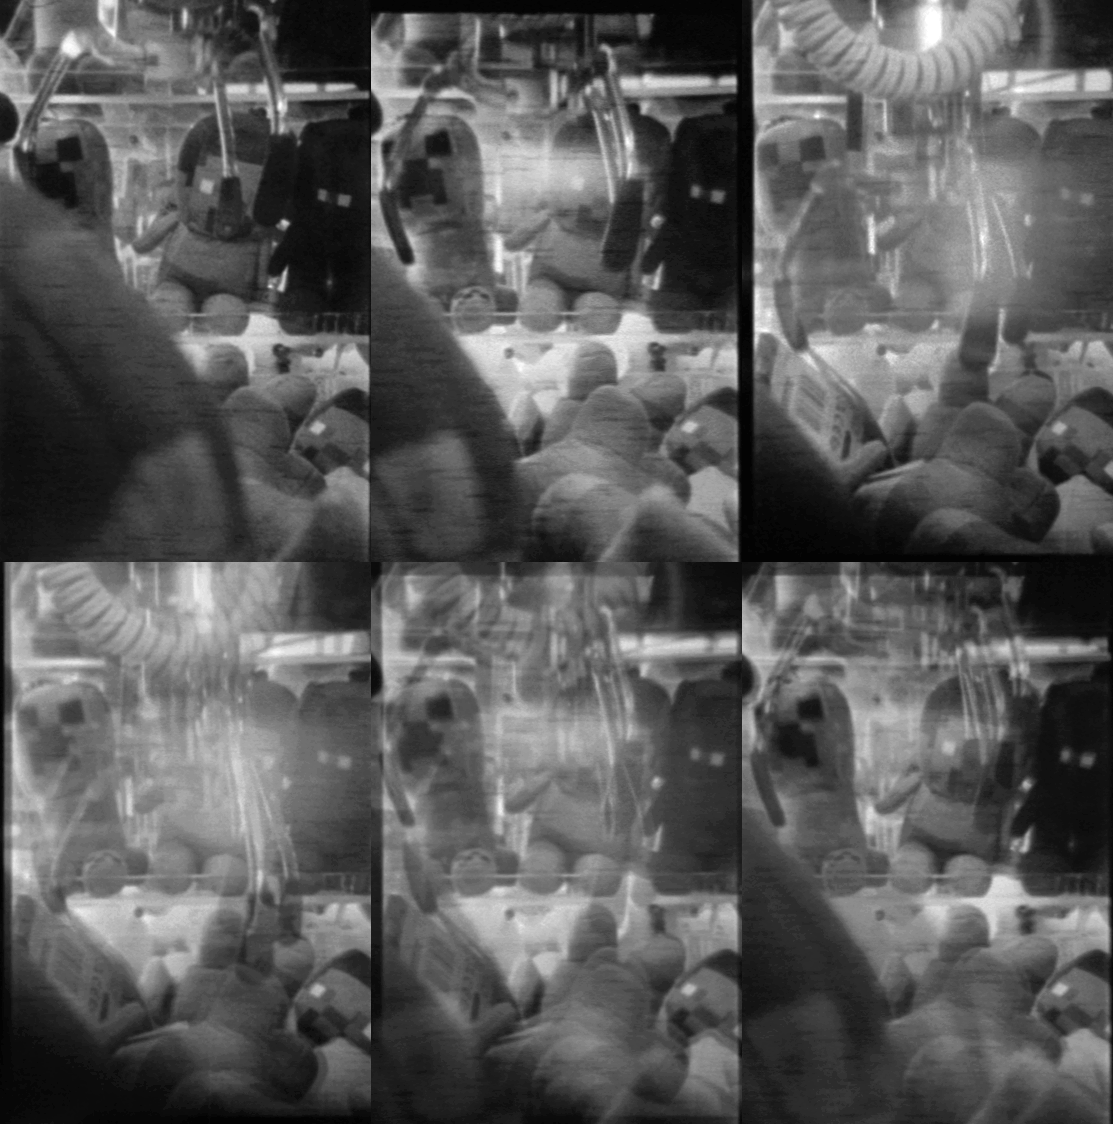
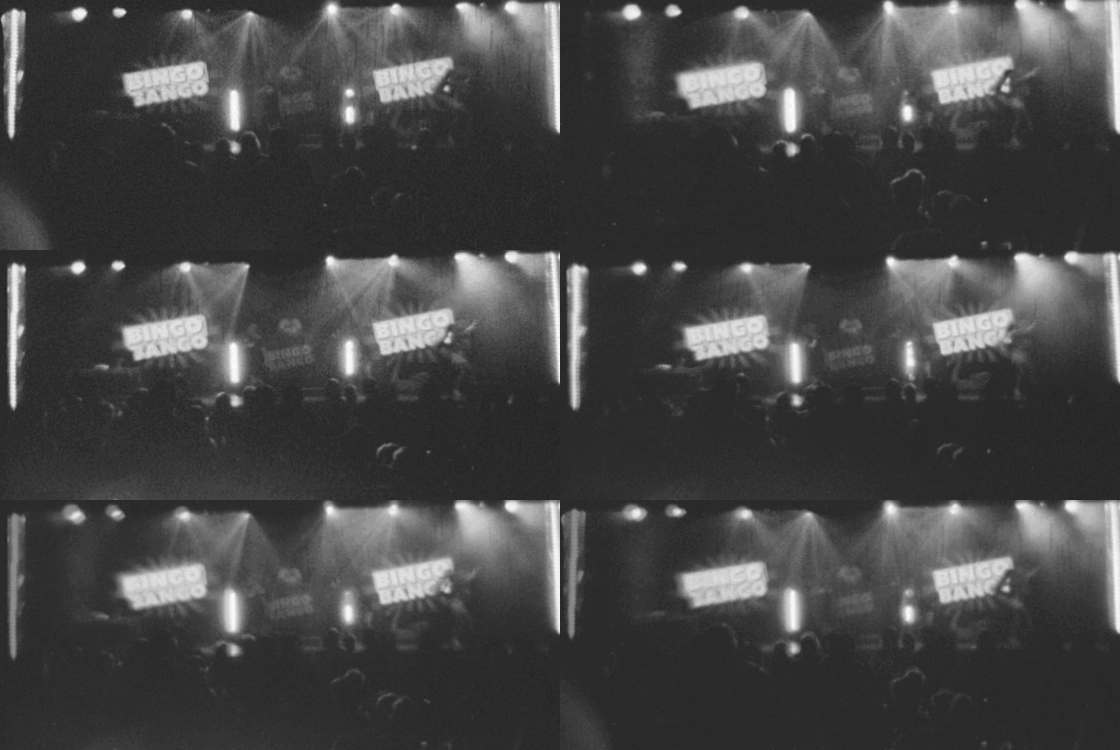
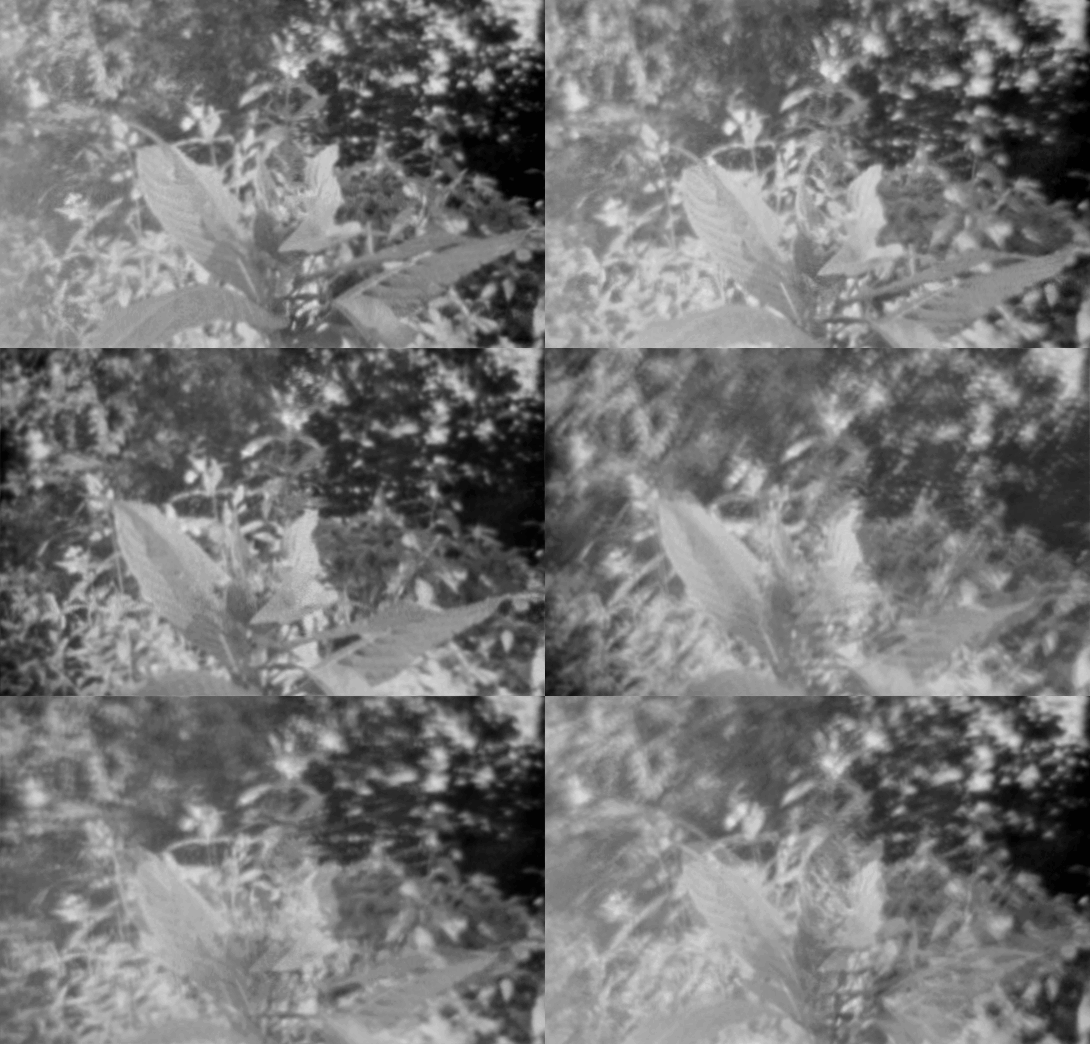
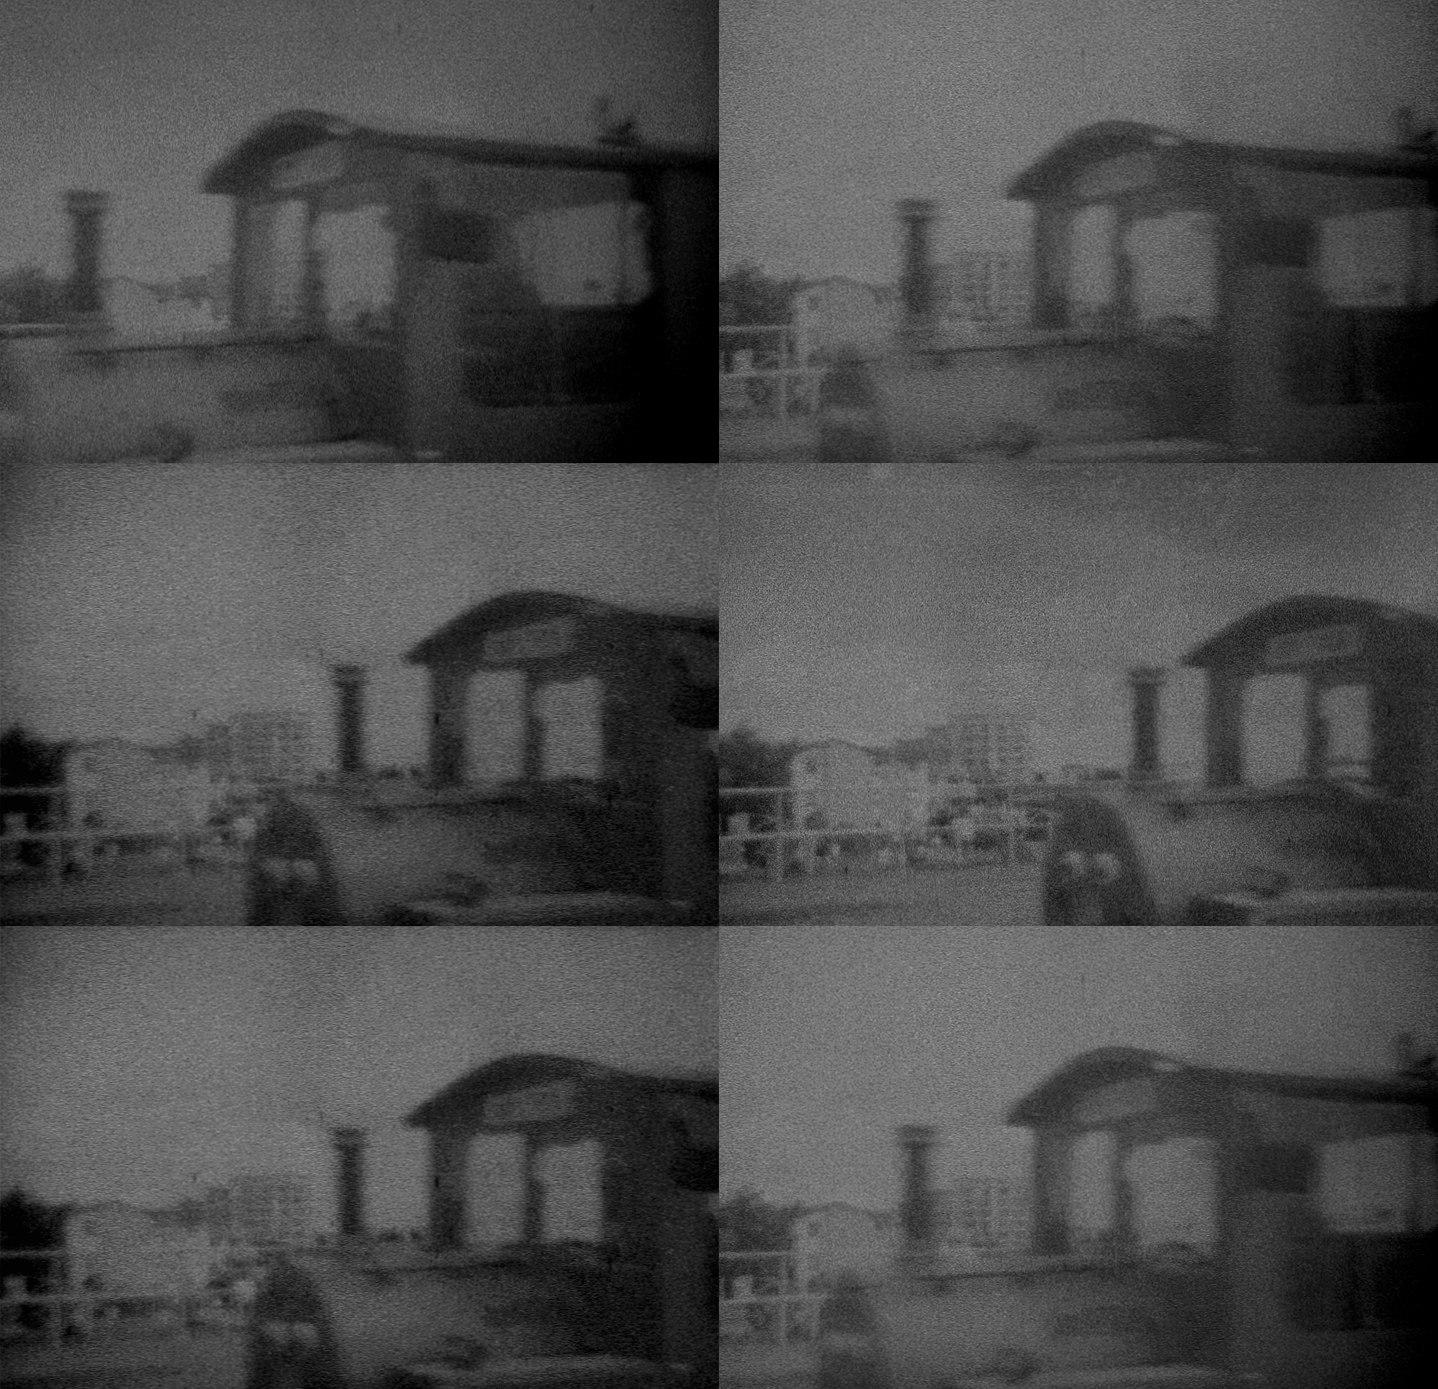
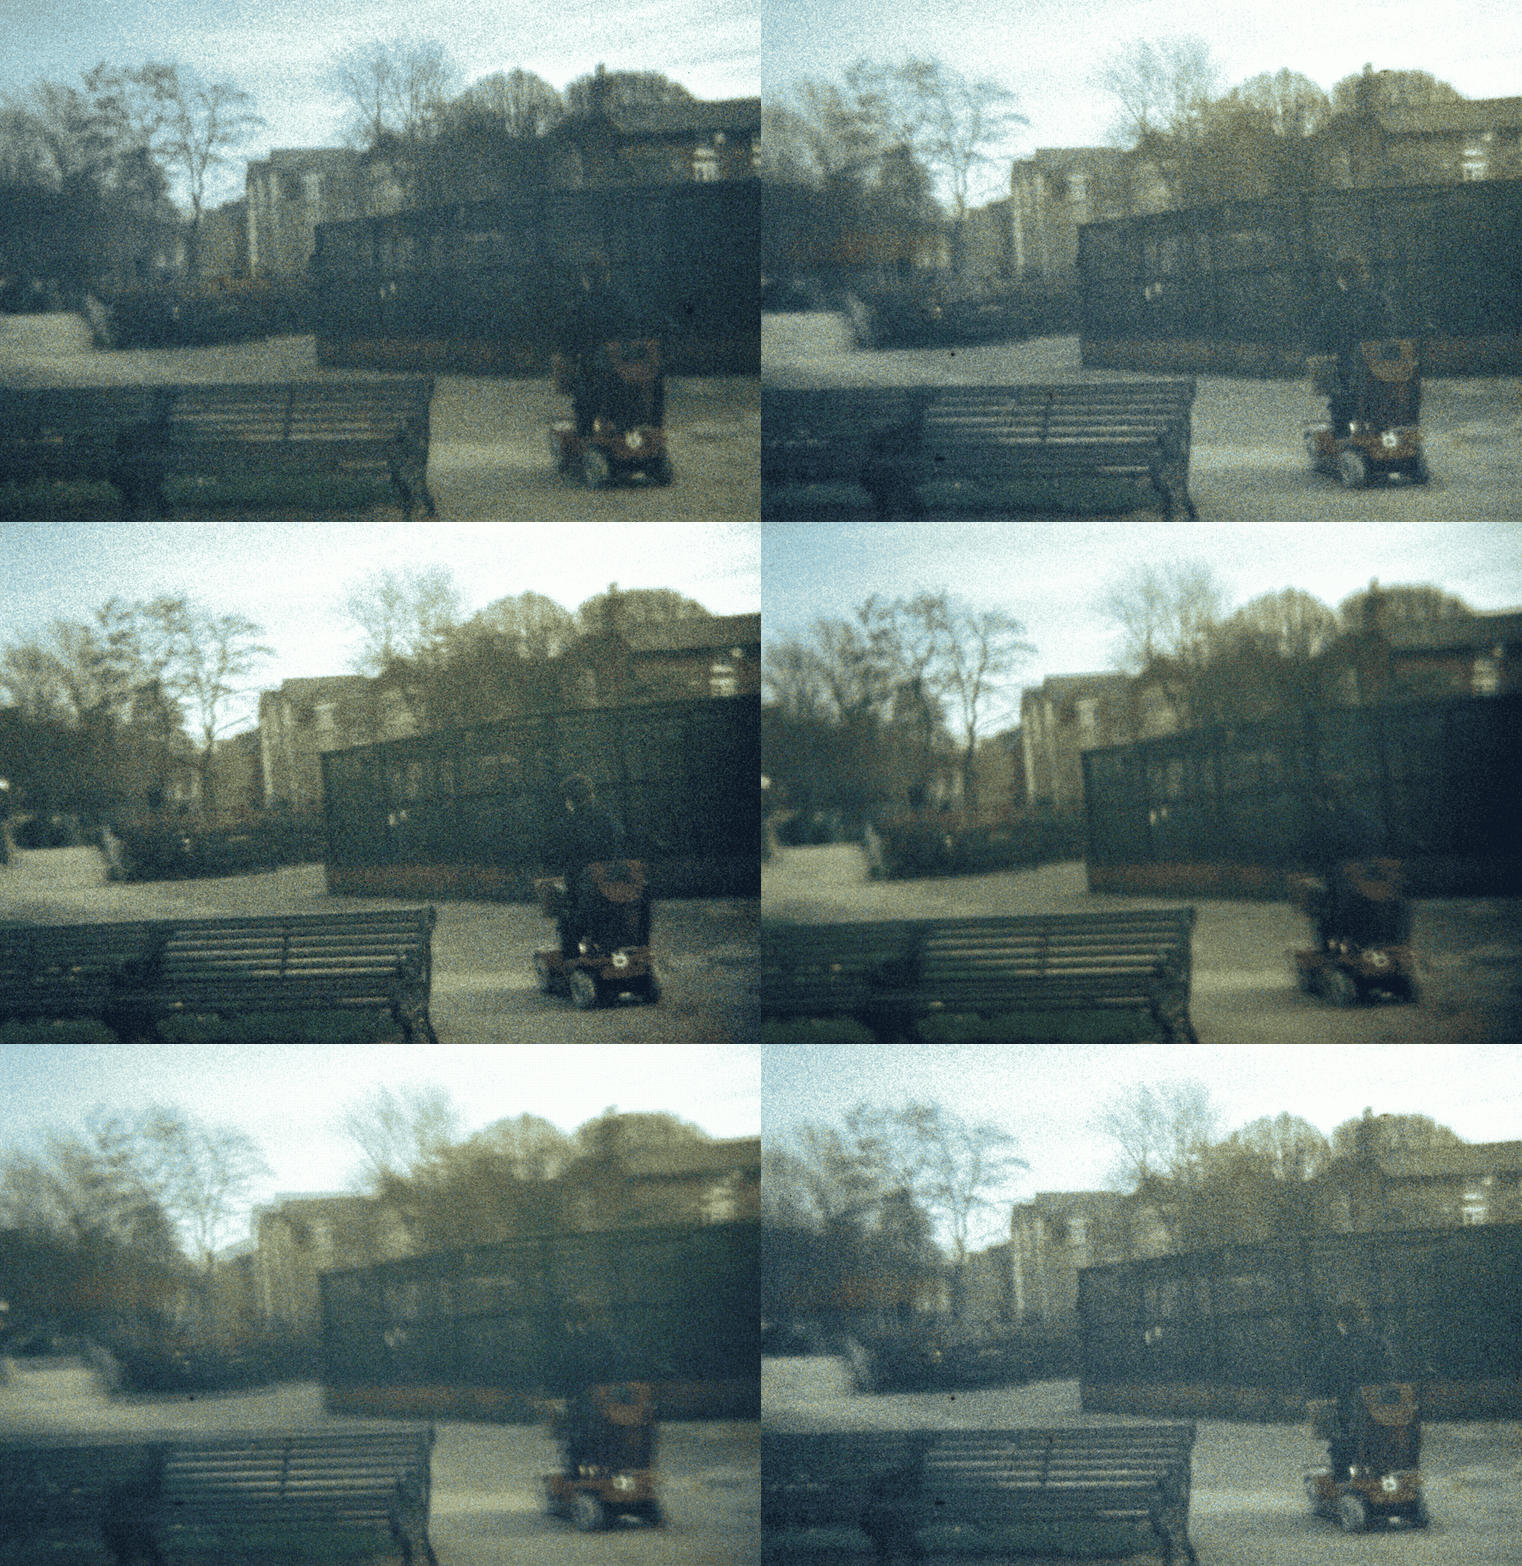
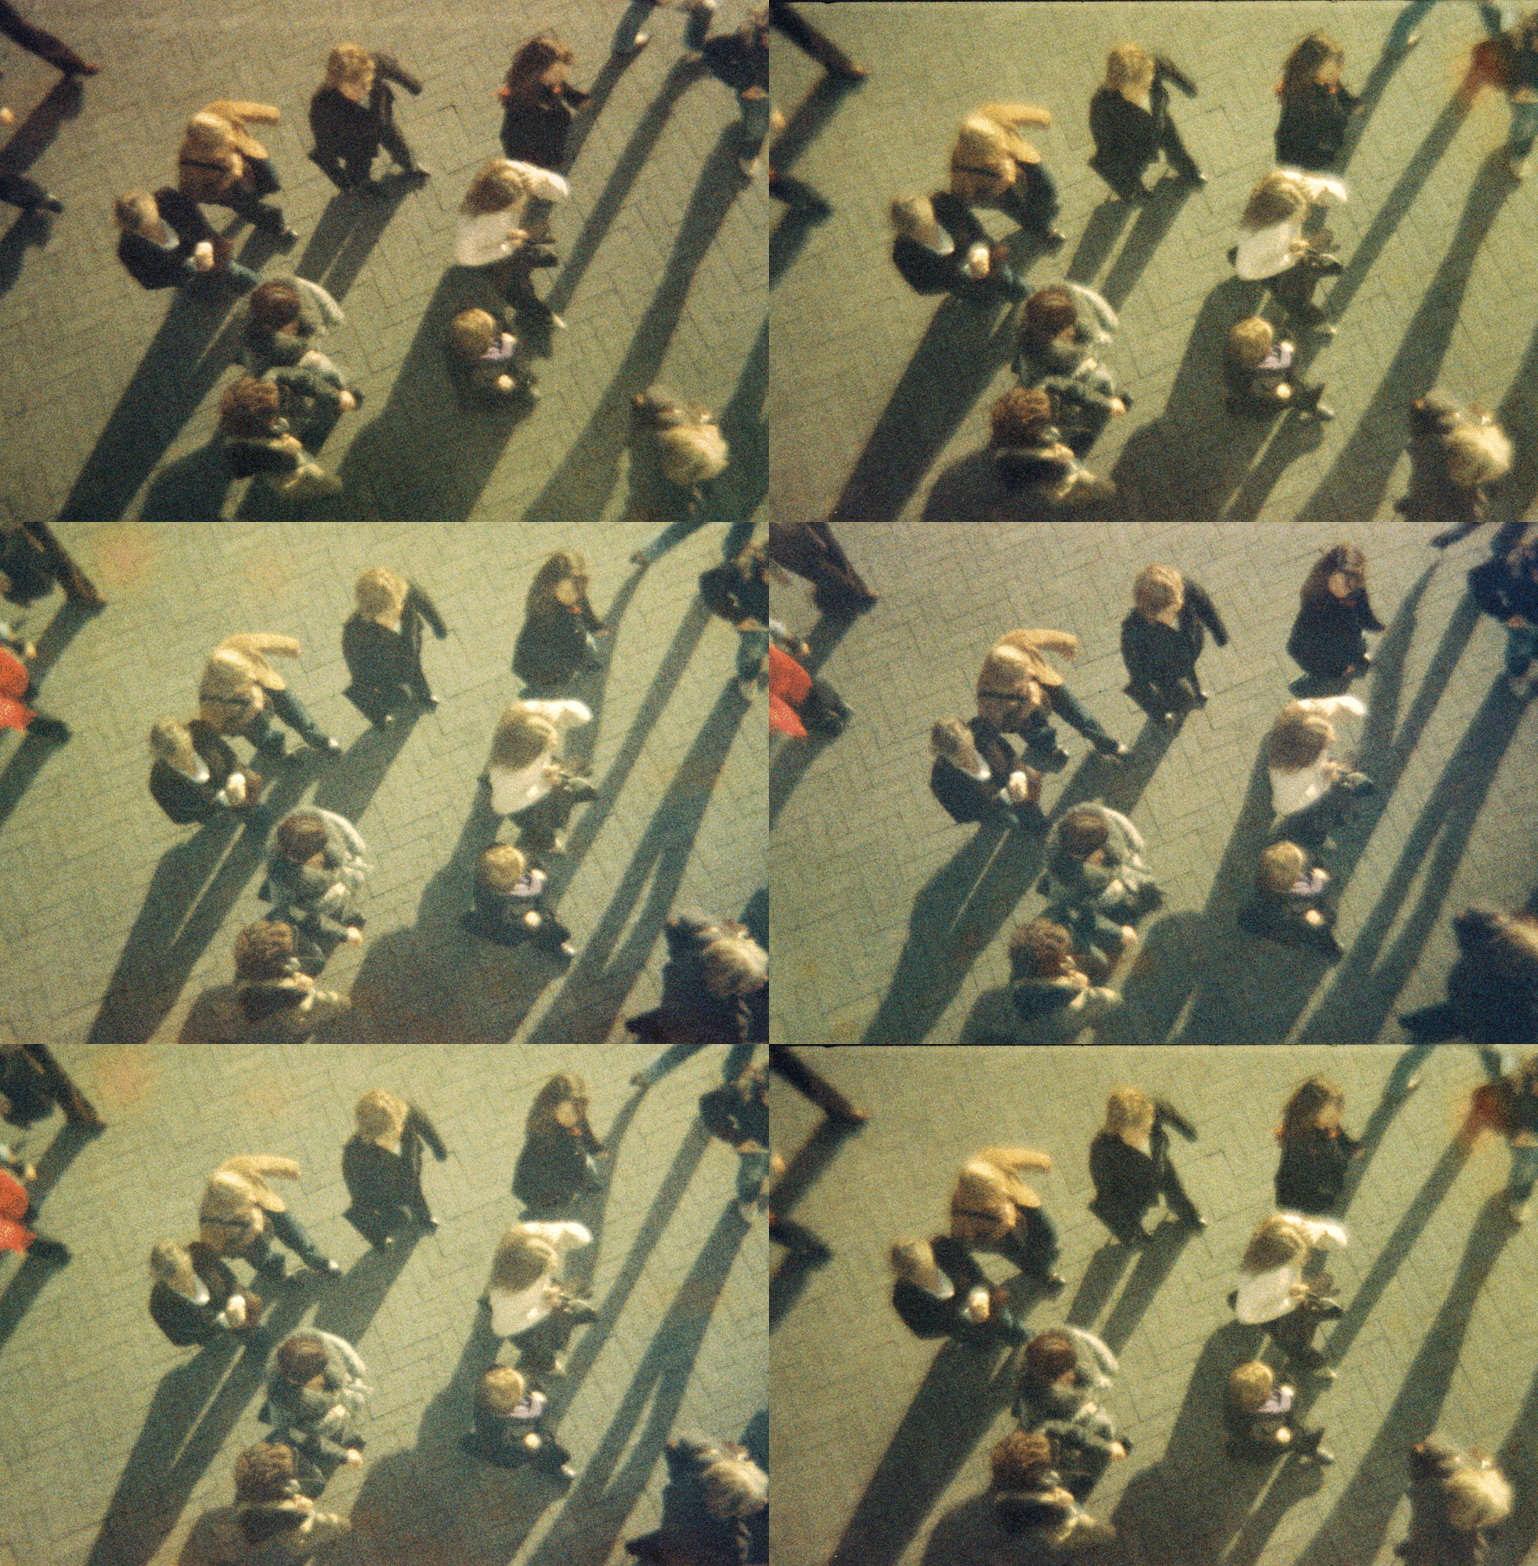
Here are some of my favourites: